
Yippee! Another new tutorial up!
I didn't really plan on doing one today it just popped up because...
Well today is a pretty normal day even though it is my "actual"' birthday.. Wait kinda more on the boring side actually and there was the box of goodies that I had laying around in my caking room and it had like 10 packs of SK Sugar flower paste!
Since the Sk sugar florist paste was something new (I have been using Wilton's gum paste , I wanted to try it out REALLY bad! (I just like playing with all types of 'sugar pastes' I can find around me and figuring out which one suits me best!)
LIGHT BULB!*
It's time for a new tutorial! (Since I pretty much had all the time in the world and a ton of sugar paste!) But what tutorial? Puzzled face*
I had a request for the "Whimsical free-hand flower" (The rainbow colored one..? Remember?!) on my "13" birthday cake I decided to do a free-hand rose tutorial since there weren't any other request or anything else I could think of!
Okay! Enough chit chat, TUTORIAL TIME!
You will need:
60 grams of Squire's Kitchen Sugar Florist Paste or Gum paste (No fondant!)
A piece of kitchen towel
Icing sugar in a shaker
Water or edible glue and a brush
Vegetable shortening
A glass cup (Optional)
YOUR HANDS

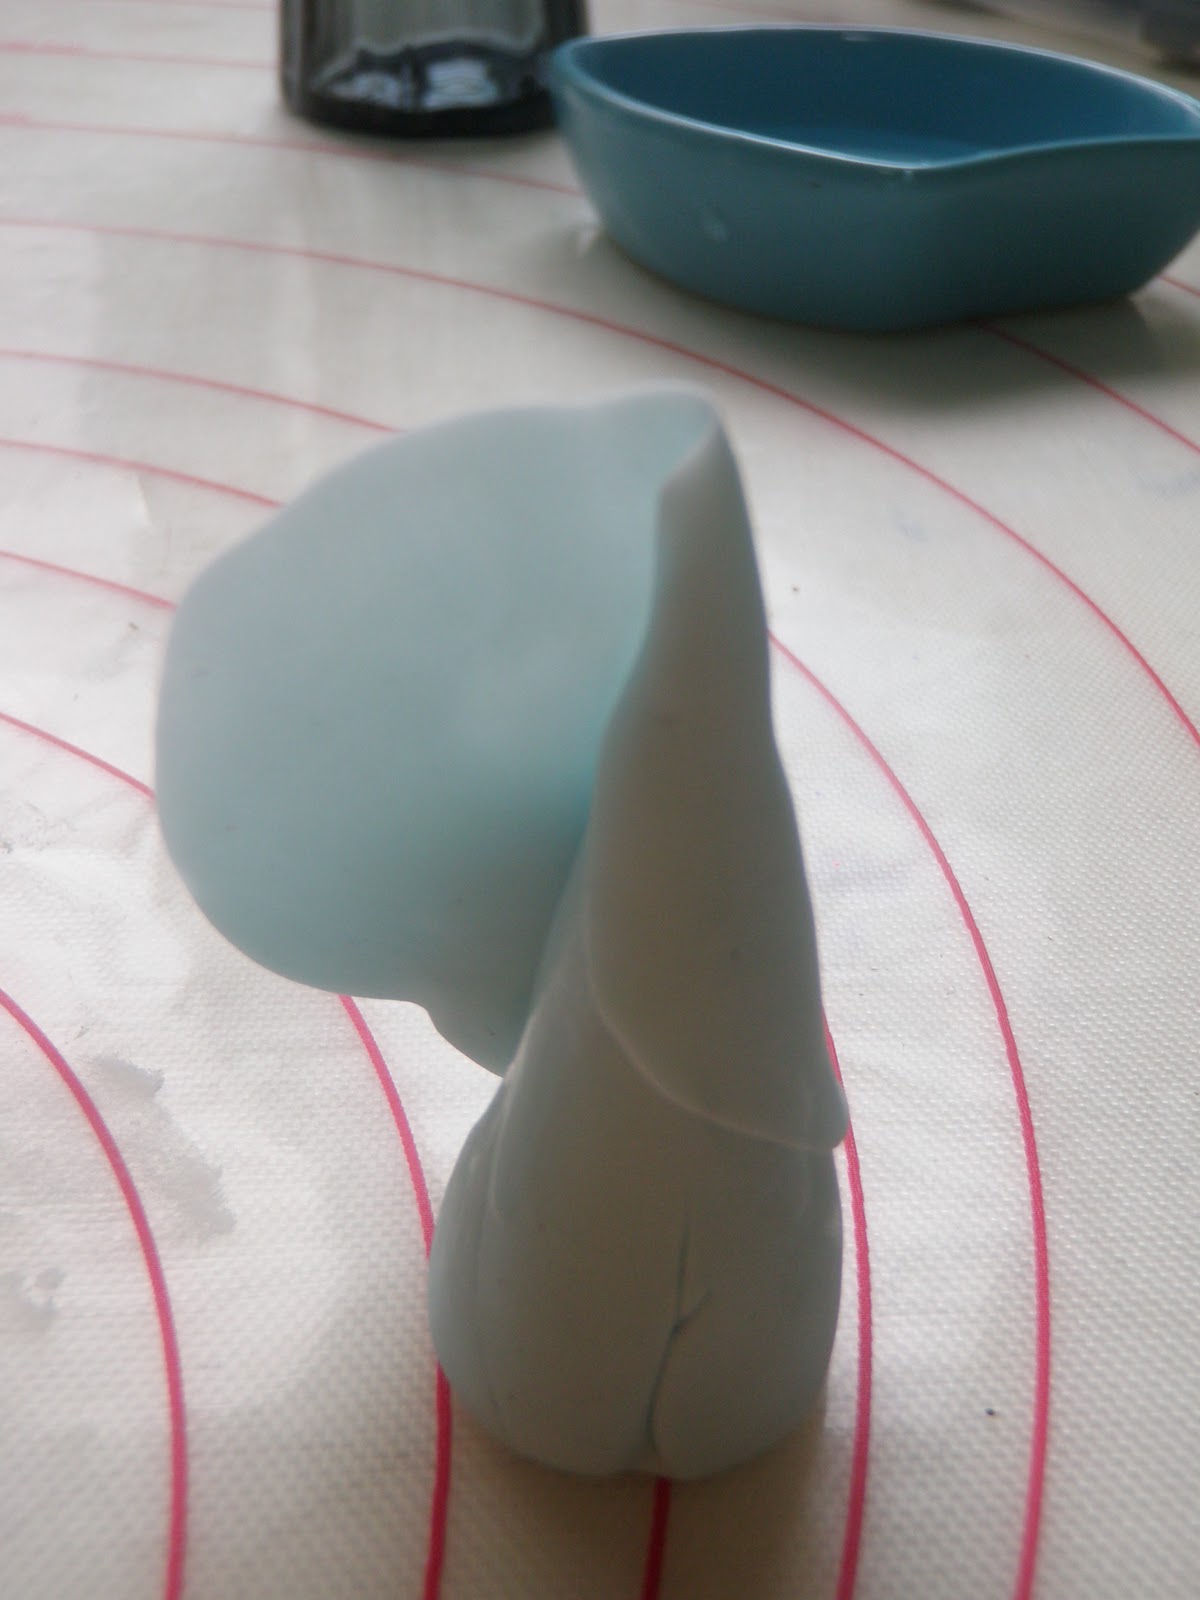
Step 1:
Take some gum paste (I can't really say how much. It really depends how big you want the rose to be.) and roll it into a cone.
It should be about 2 1/2 inches tall.
The most important thing in this step is to get the tip sharp and pointy.. So do that okay?

Step 2:
Roll the rest of your fondant into 1" uniform balls.

Step 3:
Petal time!
Take a 1" ball of gum paste and roll it into a shape of a tear drop.

Step 4:
SQUASH!

Step 5:
Use your thumb and index finger to pinch the edges of the 'squashed tear drop'.
The ends (At least 2 cm to the middle.) should be REALLY thin, you should be able to see the wordings etc on your non-stick mat.

Step 6:
Apply a thin coat of water on the cone with you paint brush.

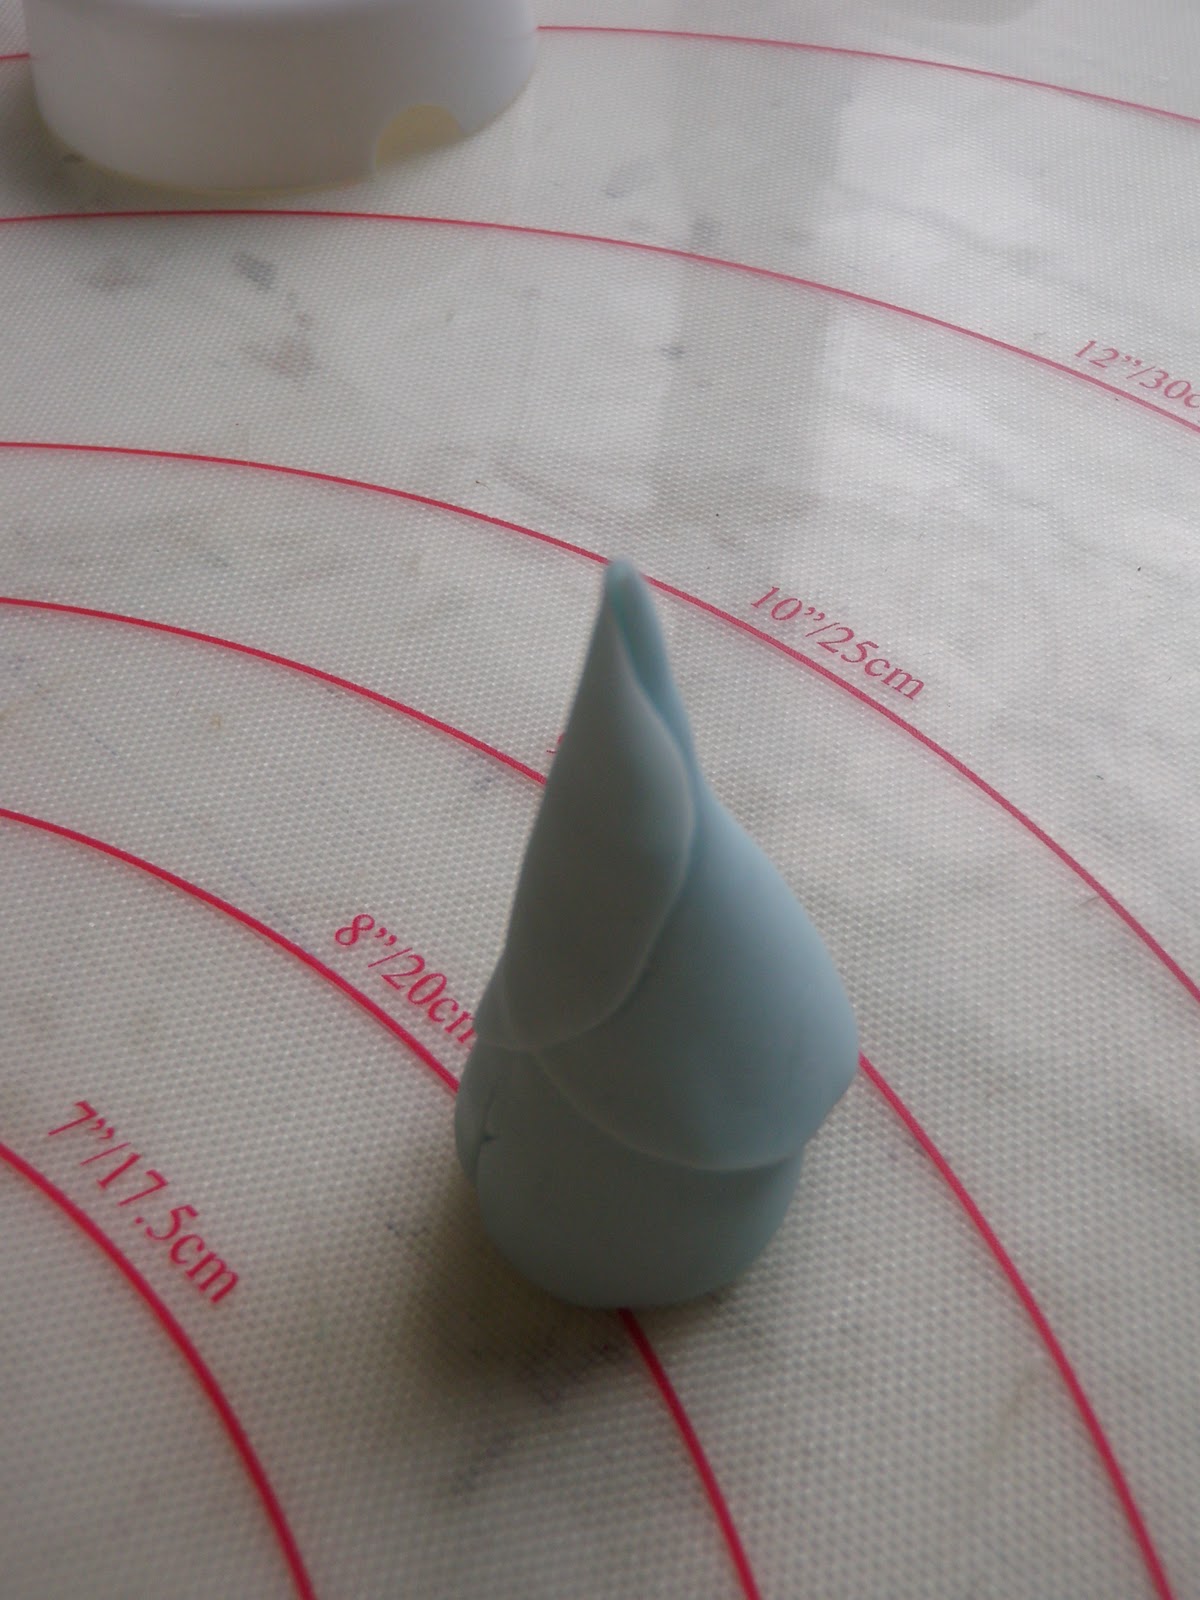
Step 7:
Wrap the petal around the cone as shown.
Place the petal slightly higher than the cone, you don't want the cone to be seen only a hole only a needle can fit through.

Quick tip!
Remember the optional glass cup?
This is what it is for..
Instead of taking your gum paste in and out of the zip lock bag to prevent it from drying you can just keep it under the glass cup.
Much quicker!

Now for the rest of the petals...
Step 8:
Use your paint brush to apply a thin coat of water on the area that I marked.
(No! You don't have to mark it! You can if you want to though..!)
Remember, only on the right hand side and half way down or you are going to end up with a sticky mess instead of a rose!

Step 9:
Okay look at your cone and see where the first petal "ended", you are going to place the second petal there.
Leave the "un-glued" part open, you are going to place the third petal there.
Make sure it is a LITTLE higher then the first petal.

Okay so you slot the third petal in the "un-glued" part of the 2nd and this is what you get.
Now apply a little bit of glue at the ends that are sticking out and just glue them down to the cone.
Yay you completed the very FIRST layer!

Step 10:
Again start where you ended in the second layer.
Add 2 petals.
This is what it should look like.

Didn't take a picture of the third layer.
This is the fourth.

Fifth.

Step 11:
By the sixth layer the rose should start blooming a little.
Bend the edges back a little.

Opening more on the 7th.

Step 12:
Pinch the middle of every petal on the 7th layer and bend it to the back a little.
Roll the sides of the petal back a little too.


Step 13:
The last layer may be rather tricky.
Do the pinching the middle and rolling back (Roll them more this time.) thing again.
The petals may be a bit on the droopy side so use some of the kitchen towel (Shred them a bit.) to support the back of the petals until they dry.

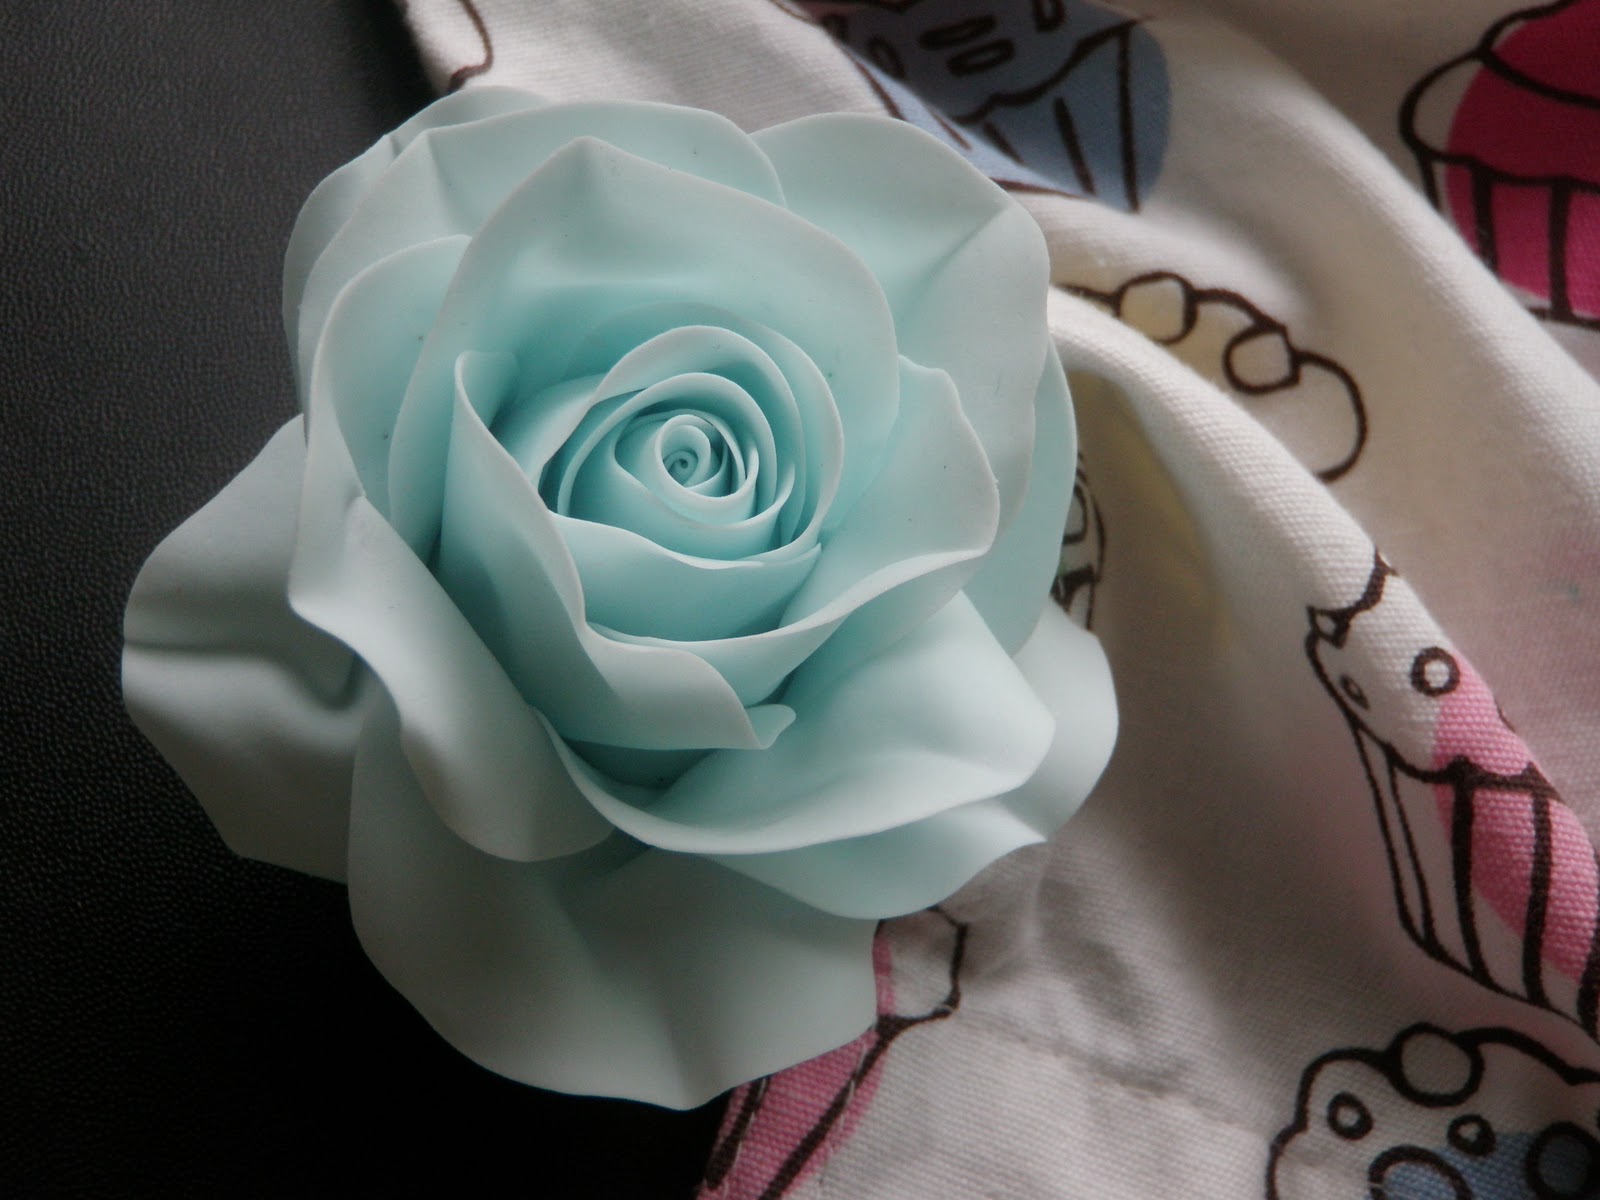
And...
(Once it dries..)
YOU'RE DONE!
~K
P.S Enjoyed my latest tutorial? Comment please!
Most excellent! Thanks!
ReplyDeleteNurainie: Thank you! I find it smoother (No hard lumps), not sticky (The Wilton one is a bit on the sticky side when you first take it out of the packet. You can use the SK one right away, no need to knead shortening it.) and MUCH more pliable!
ReplyDeleteI like it.. tq..
ReplyDelete